Need personal help? We reply quickly.
Reach our team directly — we walk new creators through setup.
InkToAudio help center
How to use InkToAudio
A complete, plain-English guide for turning your writing into studio-quality audio and distributing it as a podcast. Every feature is explained step by step — no technical knowledge required.
Turn your Substack posts into audio
Substack is built for readers, but a growing slice of your audience would rather listen — on the commute, at the gym, while doing dishes. The challenge is that Substack locks down its post editor: you can’t drop in a custom audio player because <script> tags aren’t allowed in post content. Most embed-based audio tools are out of the question.
InkToAudio is built to work around that limitation without requiring you to record every article. Here’s the full workflow, from draft to published audio.
1. Write and preview your post in Substack
Compose your post the way you normally would. Once it’s ready, hit Preview to open the rendered version. The preview is what InkToAudio will ingest, so make sure the formatting, headings, and any pull quotes look the way you want them spoken.
You don’t need to publish yet. The preview link is enough.
2. Grab your InkToAudio inbox address
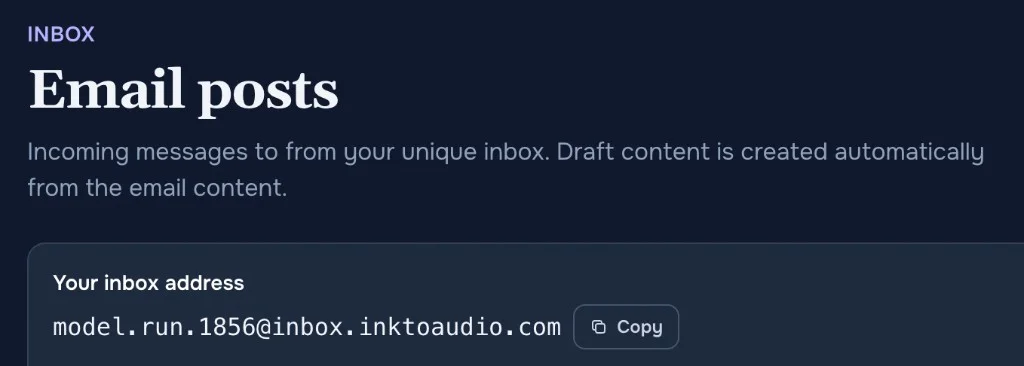
Open Forwards in InkToAudio. At the top you’ll see your personal forwarding address — something like model.run.1856@inbox.inktoaudio.com. Copy it. This is the email address that turns any incoming message into a piece of content inside your account.
3. Share the Substack post to your inbox
- Back in Substack on the preview, click Share on your post and send yourself a test email.
- After receiving your content piece, forward it to your InkToAudio inbox address.
- Within moments, the post will show up in InkToAudio under Content, fully parsed and ready to work with.
4. Edit and transform the text
On InkToAudio, select Content, then Edit next to your new content item. Audio isn’t a 1:1 read of the page. Asides in parentheses, “(see chart below)” references, and dense paragraphs that work on the page can feel clunky out loud. InkToAudio lets you edit the post directly, and there are one-click AI transformations for the common cases:
- Improve — tightens sentence rhythm and replaces written-only constructions with phrasing that flows when spoken.
- Podcast style — reframes the piece with the cadence and warmth of a podcast host.
- Newscast style — punchier, more declarative, closer to broadcast delivery.
If you want your content to sound like a podcast, discussion, or newscast, switch on Multispeaker, which can make content significantly more engaging than a single narrator reading every line. Run a transformation, tweak the result by hand, and you’re ready to render.
5. Pick a voice profile
Choose a voice profile (or voice profiles for multi-speaker), and a delivery style. Delivery styles change the way your speakers deliver your content: podcaster, newscaster, radio DJ, storyteller, conversational, or energetic.
6. Render the audio
Click Save Changes & Render Audio. Depending on the length of your content, you’ll have a finished narration in a minute or two.
7. Get it back into Substack
This is where the script-tag limitation matters. Once your audio is ready, click Share in InkToAudio and you’ll see several options:
- Direct Link — the right choice for Substack. It works inside Substack’s content restrictions, and you get full listening analytics (plays, completion rate, drop-off points) on the InkToAudio side. Copy the link, then include it as a link in your article, or create a custom button on your Substack article with the direct link pasted into the URL field.
- Embed, type “Link” — a link to the InkToAudio listening page with a stylized button.
- Embed, Player (script) and Player (iframe) — full inline players. These won’t work inside a Substack post, but if you cross-post the same content to your own website, drop either embed onto the page next to the article and readers can listen without leaving.
- Download MP3 — grab the file and upload it directly to Substack’s native audio block. You lose the InkToAudio analytics, but the audio lives entirely inside Substack.
For most Substack writers, the workflow is: create a custom button or insert a link near the top of the post (“Prefer to listen? Tap here.”) and let InkToAudio analytics do their work. If you prefer to limit listening to paid subscribers, put your listening links below your paywall.
Going hands-off with Auto Render
If you publish on a regular schedule, the manual steps above get repetitive. InkToAudio’s Auto Render pipelines handle that.
- Build a pipeline once — pick the voice profile, multispeaker setting, AI transformation, and any other defaults you want applied.
- Go to Forwards, toggle on Auto Render, and select your pipeline.
- From that point on, every post you share to your InkToAudio inbox renders automatically with your chosen settings.
You go from draft to finished audio automatically, letting you visit InkToAudio and grab your link in moments.
Tip